Configure Your Email Address On Your Mobile Device
Hey there! If you’re looking to set your mobile mail client software as your default email shop, you’ve come to the right place!!
Our Business/Enterprise mails can be configured on various mobile email clients for Apple iPhone and Android smartphones.
The mobile mail clients listed below contain instructions on how to set up your mail account for the mail clients specified.
Android
Apple iPhone
Locating the Email Client Configuration settings
Non-SSL Hostnames
If you are configuring your Email Client using your branded hostnames, you will not be able to use the SSL ports. In this case, you can use the following hostnames.
| Outbound Server SMTP | smtp.domainname.com | Port 25/587 |
| Inbound Server IMAP | imap.domainname.com | Port 143 |
| Inbound Server POP | pop.domainname.com | Port 110 |
The domainname.com in the above example needs to be replaced with your domain name. For example, if your domain name is example.com, the above-mentioned hostnames will be as follows.
smtp.example.com
imap.example.com
pop.example.com
SSL Hostnames
Our Email infrastructure supports TLS/SSL configurations on an Email Client too. We support STARTTLS on SMTP and SSL on IMAP and POP. Based on the product you have with us, you can use one of the following configurations.
Free Email or Business Email
Our Free Email and Business Email infrastructure is set up in two data centers. Depending upon where your order is provisioned, you will need to use one of the following hostnames.
Configuration 1
| Outbound Server SMTP (STARTTLS) | smtp.mailhostbox.com | Port 25/587 |
| Inbound Server IMAP (SSL) | imap.mailhostbox.com | Port 993 |
| Inbound Server POP (SSL) | pop.mailhostbox.com | Port 995 |
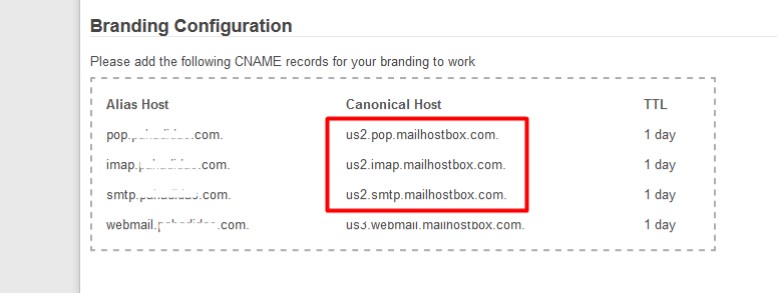
Configuration 2
| Outbound Server SMTP (STARTTLS) | us2.smtp.mailhostbox.com | Port 25/587 |
| Inbound Server IMAP (SSL) | us2.imap.mailhostbox.com | Port 993 |
| Inbound Server POP (SSL) | us2.pop.mailhostbox.com | Port 995 |
Note: By default, all new orders are required to use Configuration 2.
However, if you have old orders, you may need to use Configuration 1.
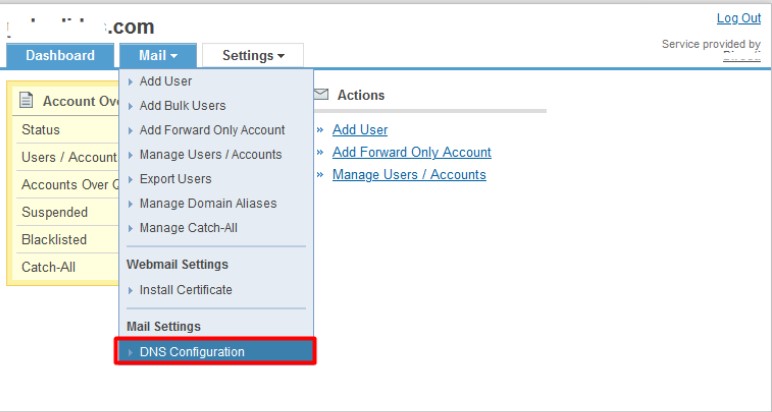
If you want to know for sure which configuration you need to use, you can simply go to your Email Admin Dashboard and go to Mail >> DNS Configuration
You will find your configuration under the heading Branding Configuration
Enterprise Email
If you have the Enterprise Email with us, the configuration is pretty straightforward as follows.
| Outbound Server SMTP (STARTTLS) | us3.smtp.mailhostbox.com | Port 25/587 |
| Inbound Server IMAP (SSL) | us3.imap.mailhostbox.com | Port 993 |
| Inbound Server POP (SSL) | us3.pop.mailhostbox.com | Port 995 |
Configuring your Mobile Email Client
Now that you have located and identified the settings you need, you can proceed to configure your Email Client accordingly. Based on which product you have with us viz. Free Email, Business Email, or Enterprise Email, you can use the above-mentioned configurations: SSL hostnames or Non-SSL hostnames to configure your Email Account on the Mobile Email Client of your choice.
Android
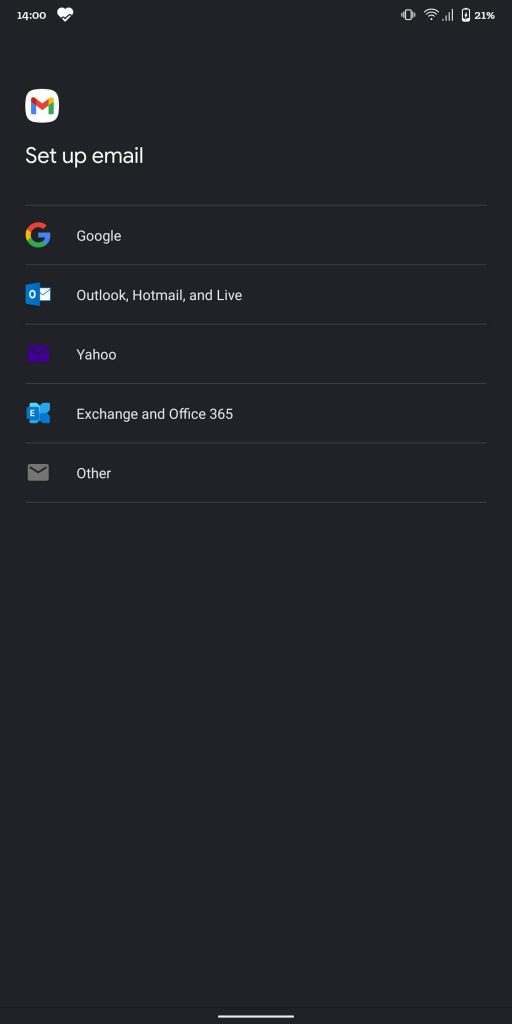
Step 1: Android’s default Email Client is the Gmail application. Launch the Gmail Application and in Settings, click on Add Account. Select Other.
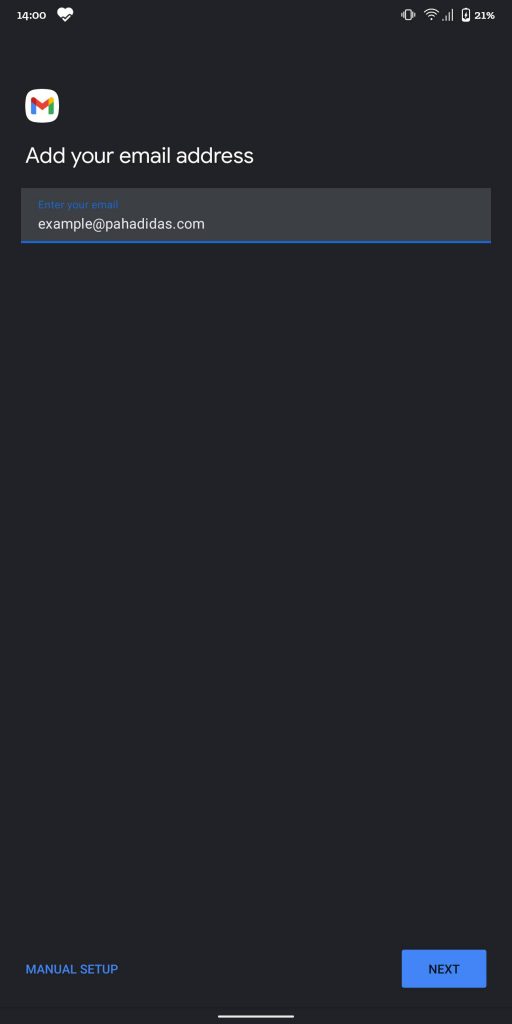
Step 2: Enter your Email Address with us for your Email Hosting package that you have purchased and click on Manual Setup.
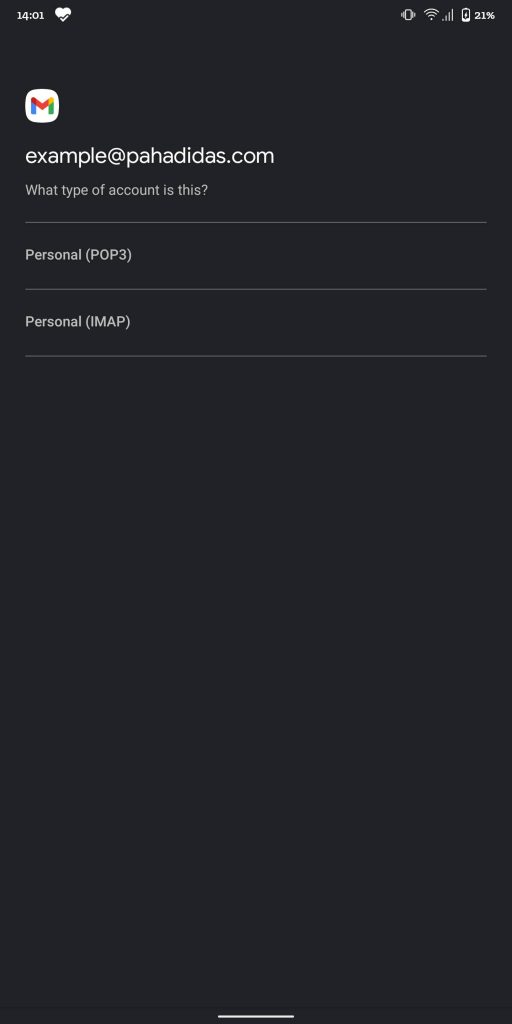
Step 3: Select the required incoming protocol POP or IMAP, depending upon your requirement.
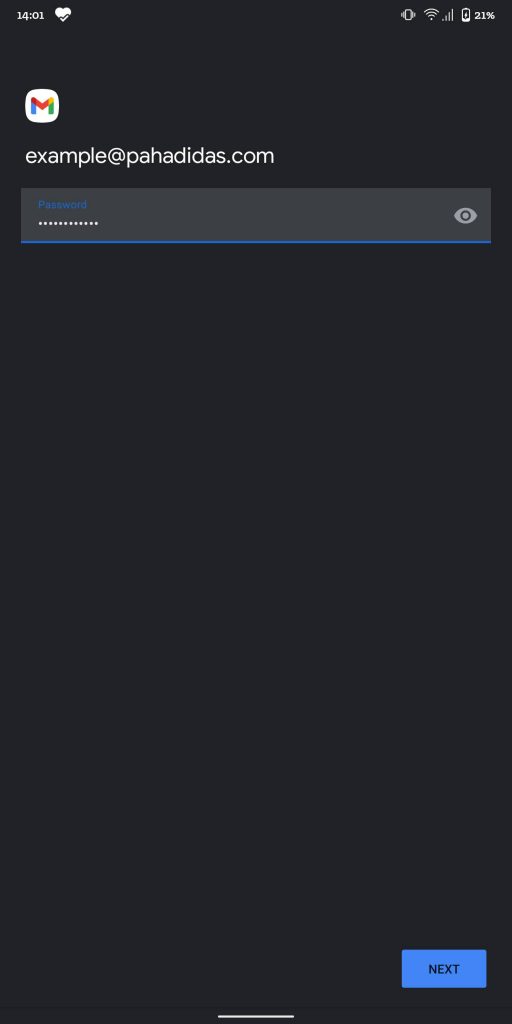
Step 4: Enter the password for your email account.
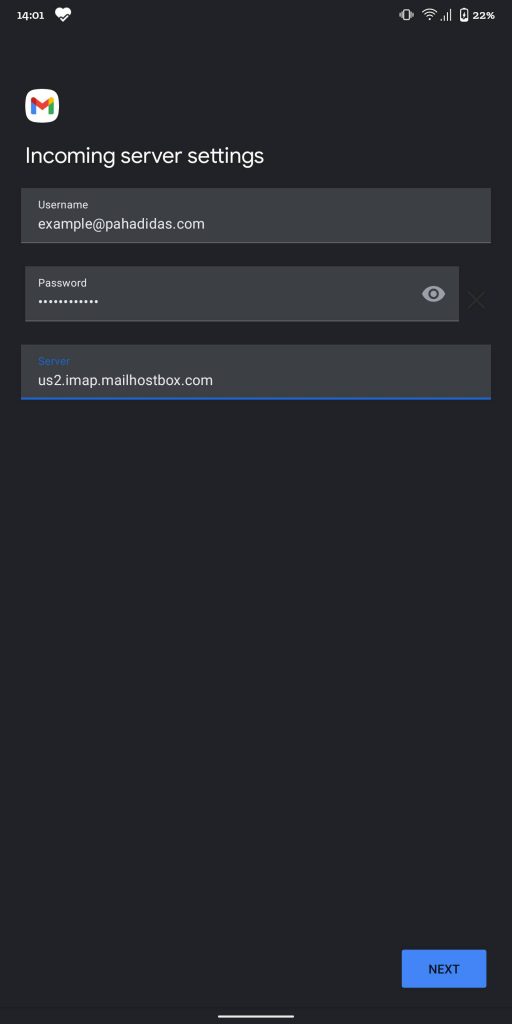
Step 5: Refer to the tables in the Locating the Email Client Configuration settings section above and based on your preferences, enter the respective hostnames, port numbers, and encryption methods for the Incoming Mail and Outgoing Mail servers.
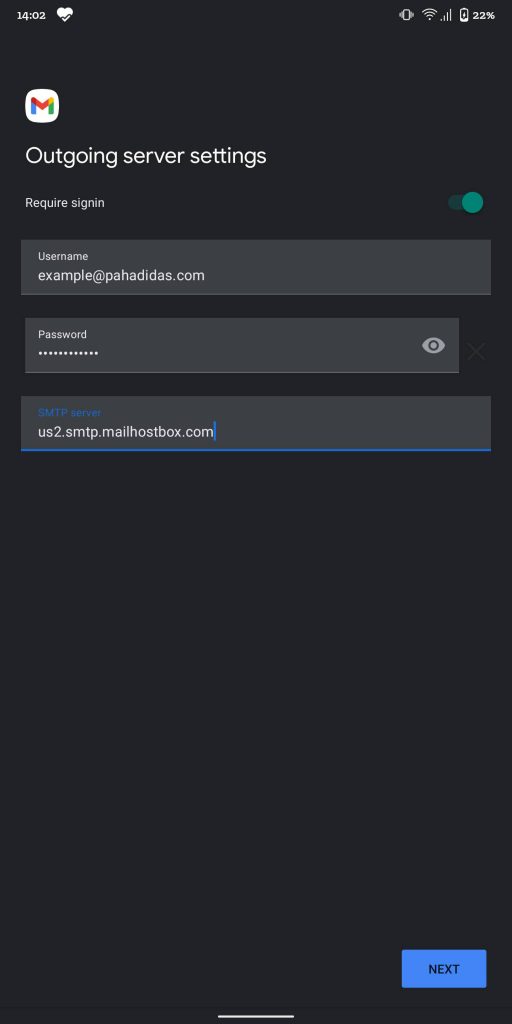
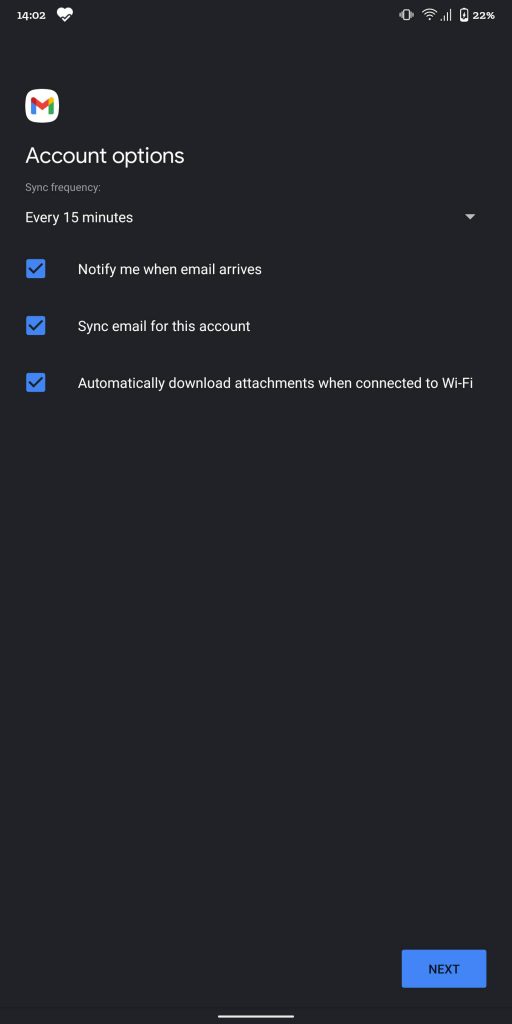
Step 6: Leave the default settings checked.
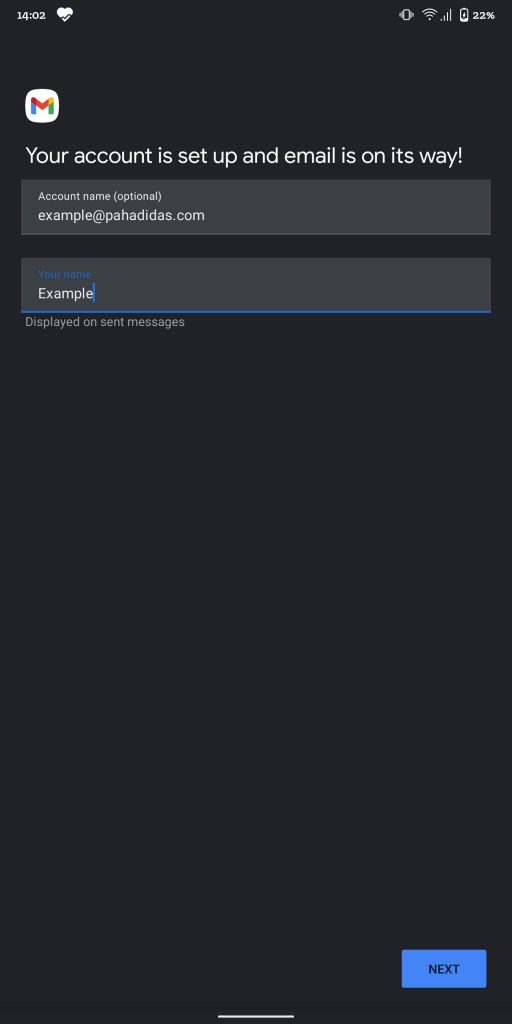
Step 7: Give a name to your account for your own reference. This is optional.
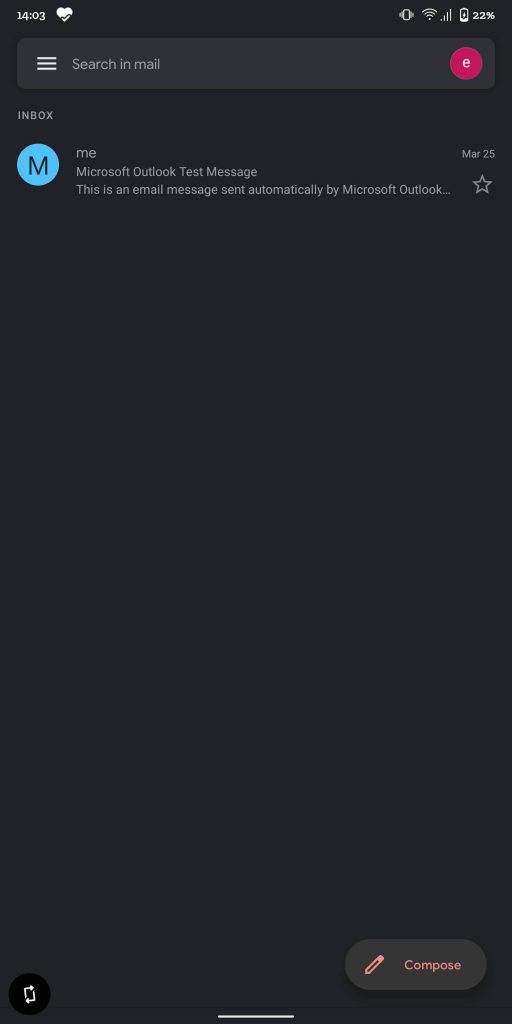
That’s it! Your account is now ready to use. You can check the Inbox and start composing new emails.
Apple iPhone
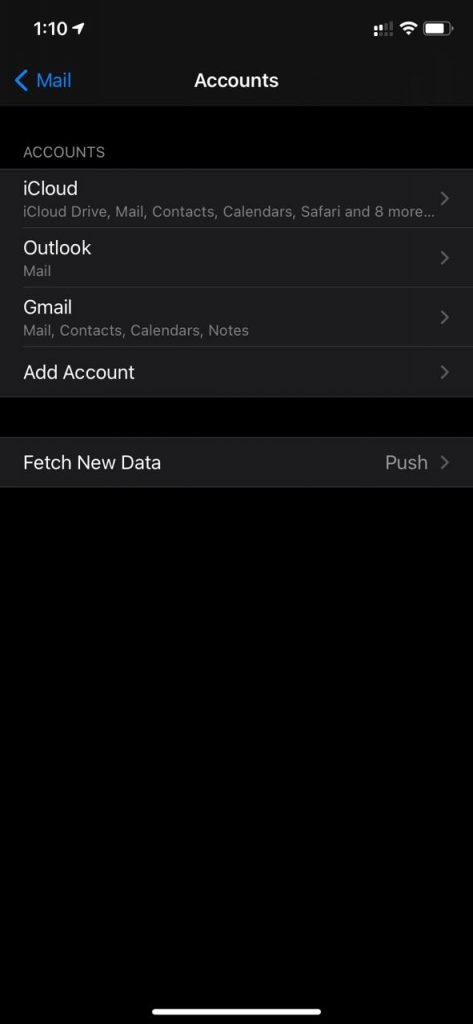
Step 1: Go to your iPhone settings, and click on Accounts, and select Add Account.
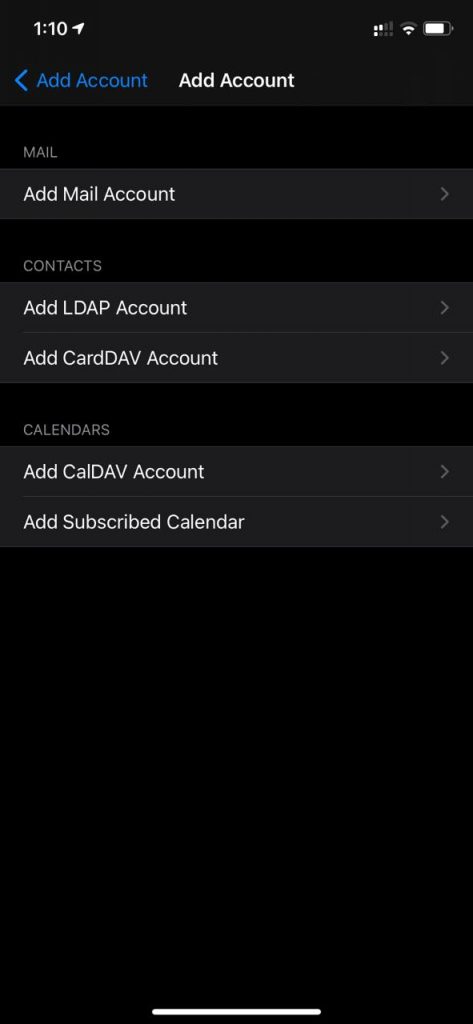
Step 2: Select Other.

Step 3: On the next screen, select Add Mail Account.
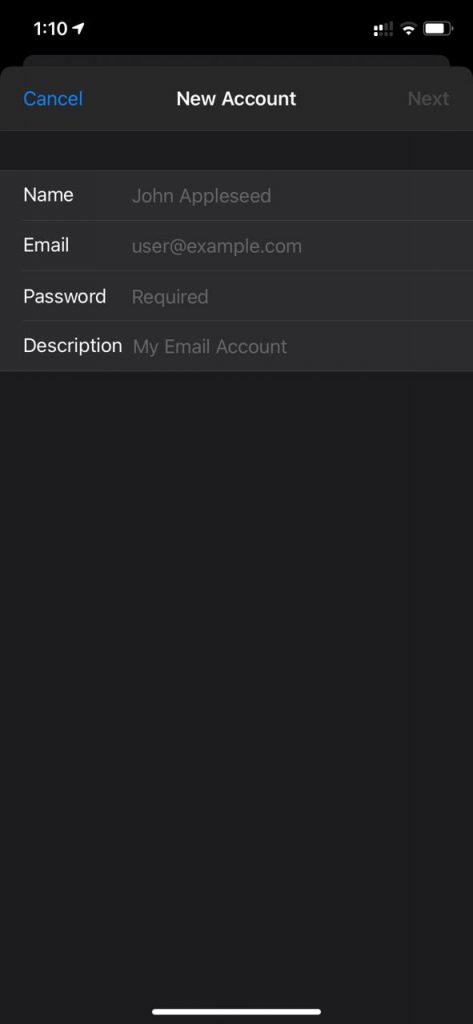
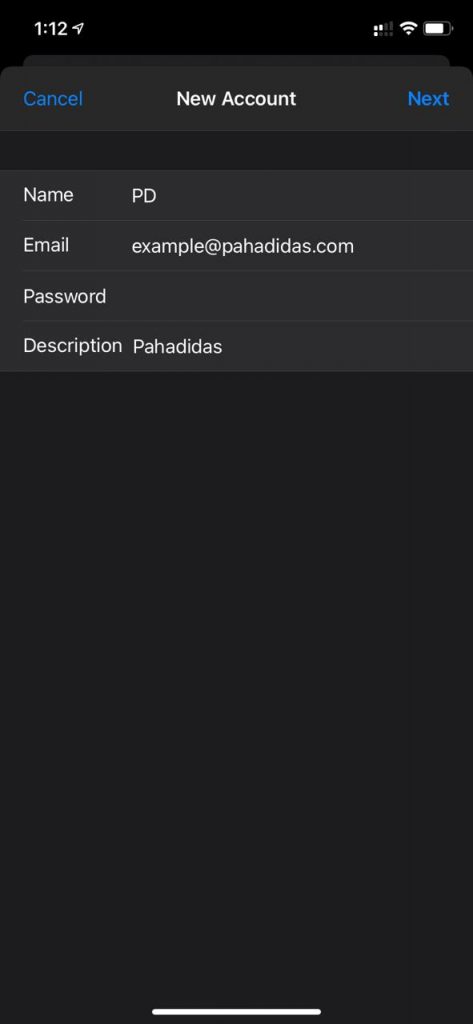
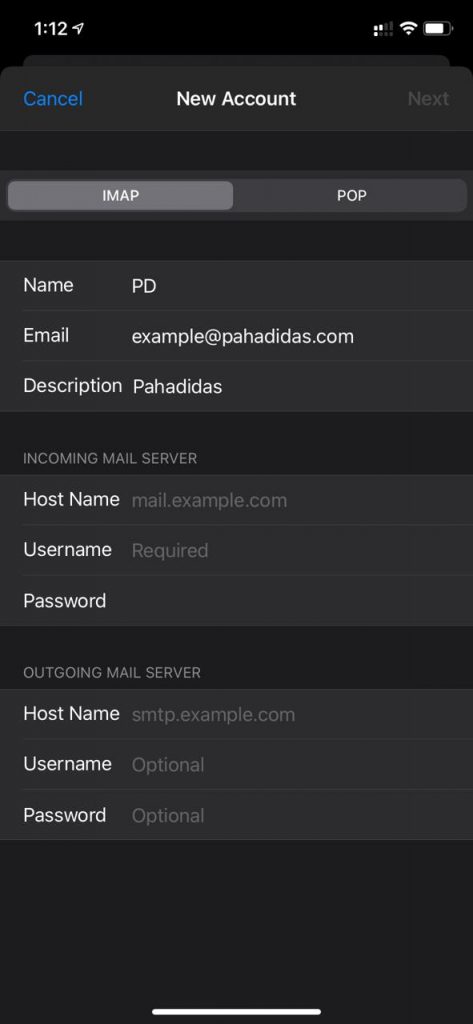
Step 4: Enter your account details such as your name, username, and password.
Step 5: Select POP or IMAP incoming protocol based on your requirement.
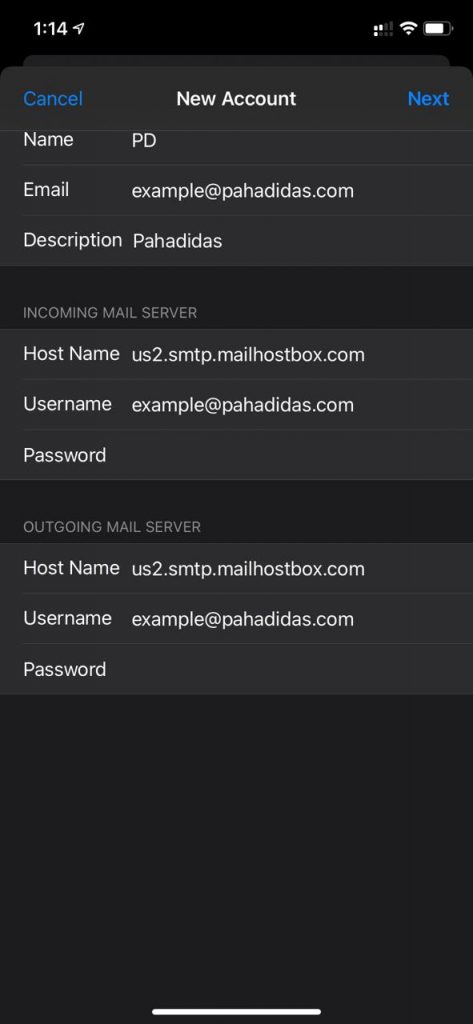
Step 5: Refer to the tables in the Locating the Email Client Configuration settings section above and based on your preferences, enter the respective hostnames, port numbers, and encryption methods for the Incoming Mail and Outgoing Mail servers.
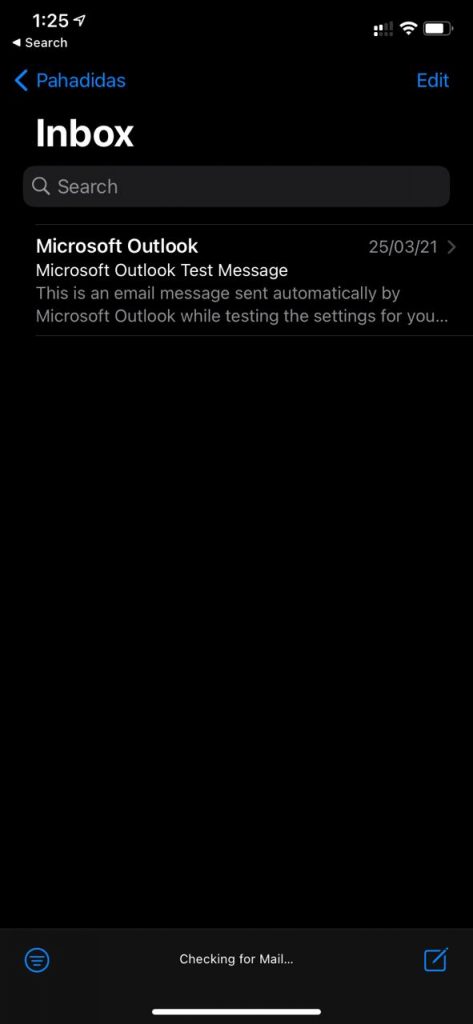
That’s it! You have successfully configured your Email Account on Apple iPhone.
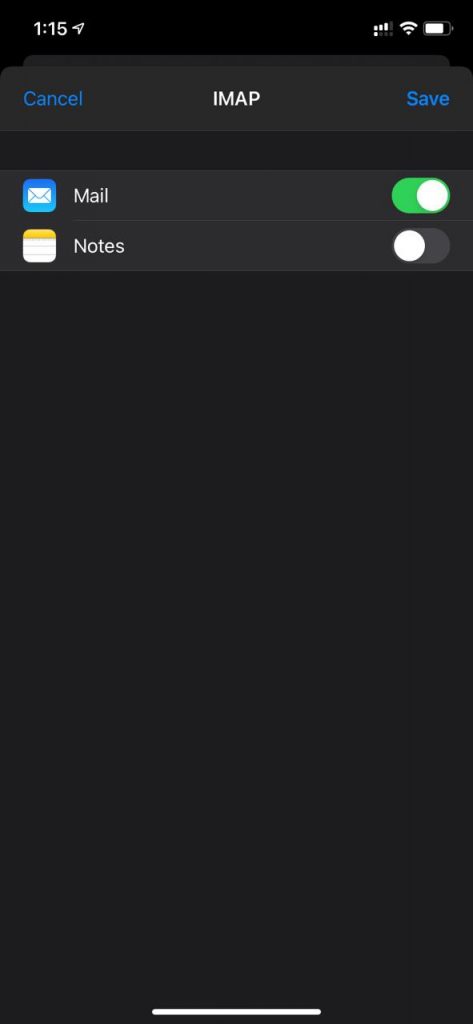
You can now view the inbox and start composing new emails.