Configure Your Desktop Email Client To Send and Receive Email
Hey there! If you’re looking to set your desktop mail client software as your default email shop, you’ve come to the right place!!
Our Business/Enterprise mails can be configured on various email clients such as Outlook, Windows Mail App, Thunderbird, etc.
The mail clients listed below contain instructions on how to set up your mail account for the mail clients specified.
Microsoft Outlook 2016
Microsoft Outlook 2019
Microsoft Outlook 365
Windows 8/10 Mail App
Mozilla Thunderbird 78
MacOS
Windows 8/10 Mail App
Mozilla Thunderbird 78
MacOS
Locating the Email Client Configuration settings
Non-SSL Hostnames
If you are configuring your Email Client using your branded hostnames, you will not be able to use the SSL ports. In this case, you can use the following hostnames.
| Outbound Server SMTP | smtp.domainname.com | Port 25/587 |
| Inbound Server IMAP | imap.domainname.com | Port 143 |
| Inbound Server POP | pop.domainname.com | Port 110 |
The domainname.com in the above example needs to be replaced with your domain name. For example, if your domain name is example.com, the above-mentioned hostnames will be as follows.
smtp.example.com
imap.example.com
pop.example.com
SSL Hostnames
Our Email infrastructure supports TLS/SSL configurations on an Email Client too. We support STARTTLS on SMTP and SSL on IMAP and POP. Based on the product you have with us, you can use one of the following configurations.
Free Email or Business Email
Our Free Email and Business Email infrastructure is set up in two datacenters. Depending upon where your order is provisioned, you will need to use one of the following hostnames.
Configuration 1
| Outbound Server SMTP (STARTTLS) | smtp.mailhostbox.com | Port 25/587 |
| Inbound Server IMAP (SSL) | imap.mailhostbox.com | Port 993 |
| Inbound Server POP (SSL) | pop.mailhostbox.com | Port 995 |
Configuration 2
| Outbound Server SMTP (STARTTLS) | us2.smtp.mailhostbox.com | Port 25/587 |
| Inbound Server IMAP (SSL) | us2.imap.mailhostbox.com | Port 993 |
| Inbound Server POP (SSL) | us2.pop.mailhostbox.com | Port 995 |
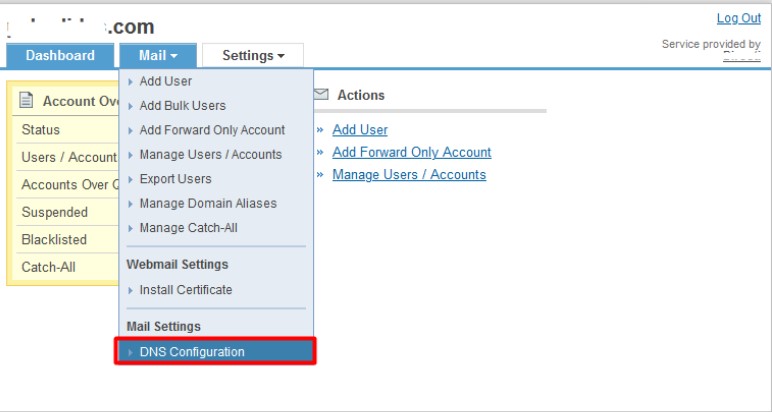
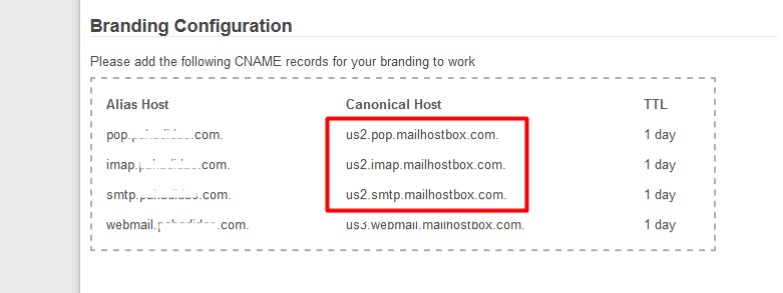
Note: By default, all new orders are required to use Configuration 2.
However, if you have old orders, you may need to use Configuration 1.
If you want to know for sure which configuration you need to use, you can simply go to your Email Admin Dashboard and go to Mail >> DNS Configuration
You will find your configuration under the heading Branding Configuration
Enterprise Email
If you have the Enterprise Email with us, the configuration is pretty straightforward as follows.
| Outbound Server SMTP (STARTTLS) | us3.smtp.mailhostbox.com | Port 25/587 |
| Inbound Server IMAP (SSL) | us3.imap.mailhostbox.com | Port 993 |
| Inbound Server POP (SSL) | us3.pop.mailhostbox.com | Port 995 |
Configuring your Email Client
Now that you have located and identified the settings you need, you can proceed to configure your Email Client accordingly. Based on which product you have with us viz. Free Email, Business Email, or Enterprise Email, you can use the above-mentioned configurations: SSL hostnames or Non-SSL hostnames to configure your Email Account on the Email Client of your choice.
Outlook 2016
This section will take you through a step-by-step guide on how to configure your Email Account with us on Microsoft Outlook 2016.
Note: We will be configuring the email account using SSL Hostnames for SMTP and IMAP protocols.
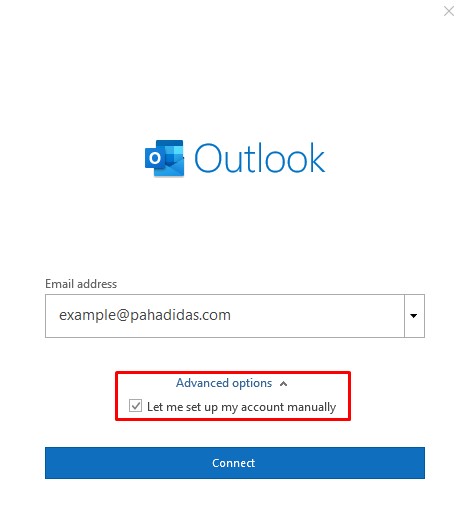
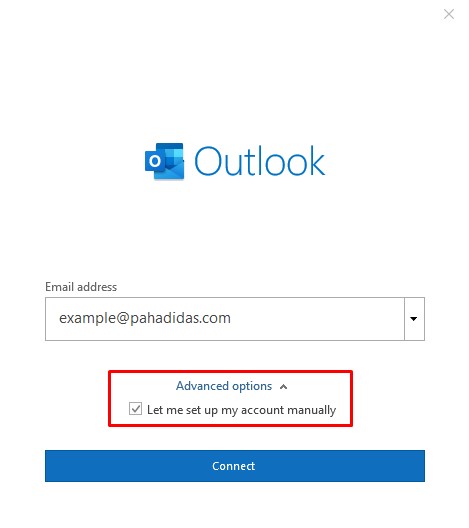
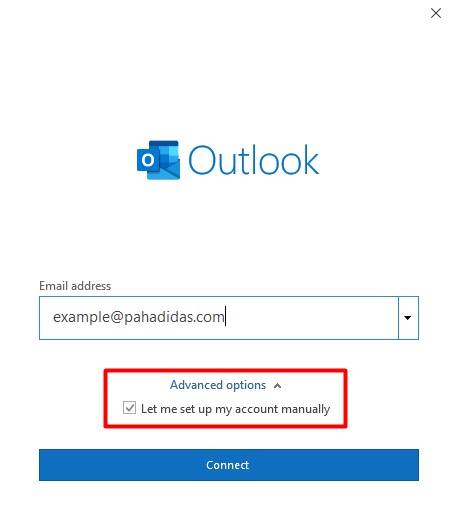
Step 1: Launch Microsoft Outlook 2016 on your computer. If you are launching it for the first time, you will directly see the window as shown below. If you have already configured some other email accounts on Outlook already, you can click on File Menu > Add Account to see the window as shown below.
Enter your Email Address
Check the box that reads “Let me set up my account manually”
Click on Connect
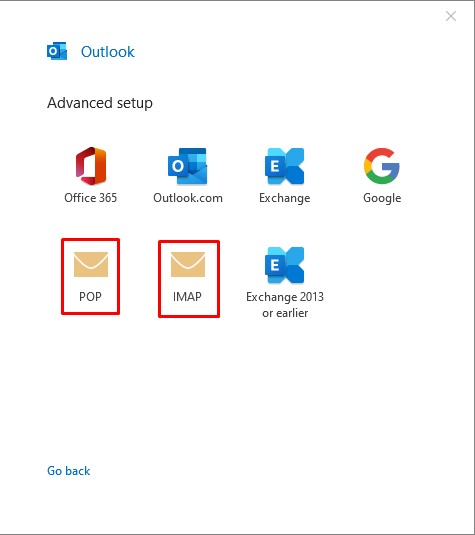
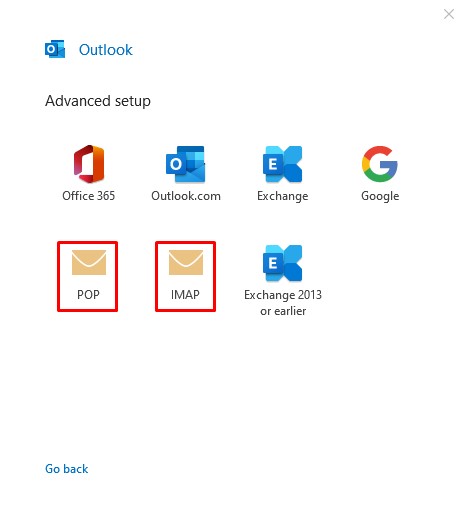
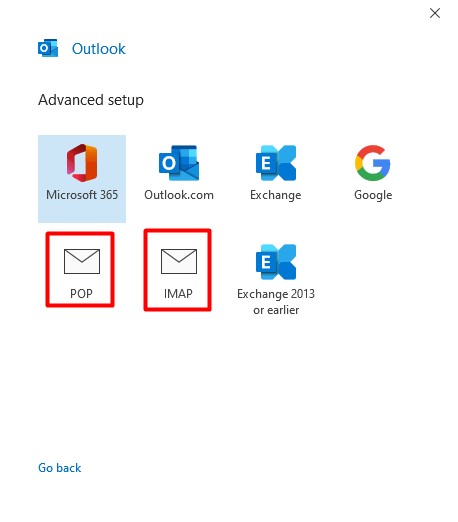
Step 2: Select POP or IMAP depending upon the Incoming Protocol you prefer. In this article, we have selected IMAP.
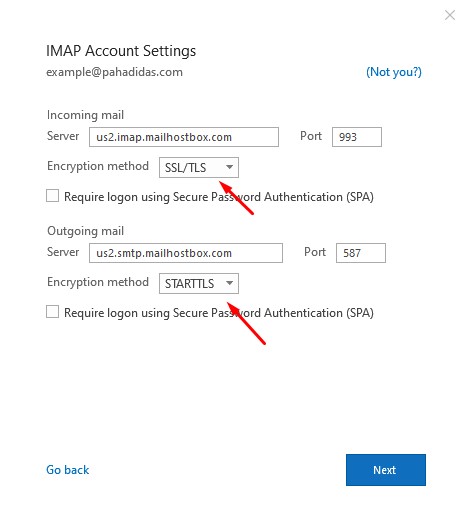
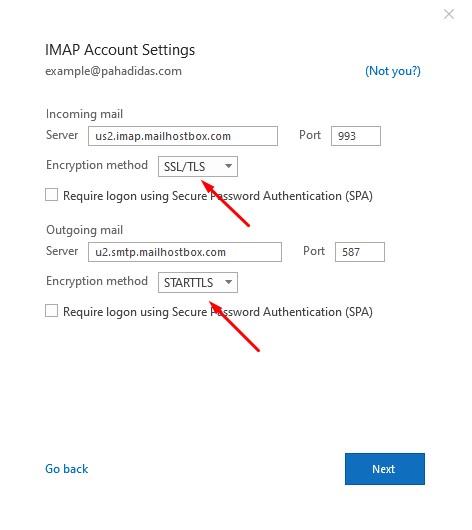
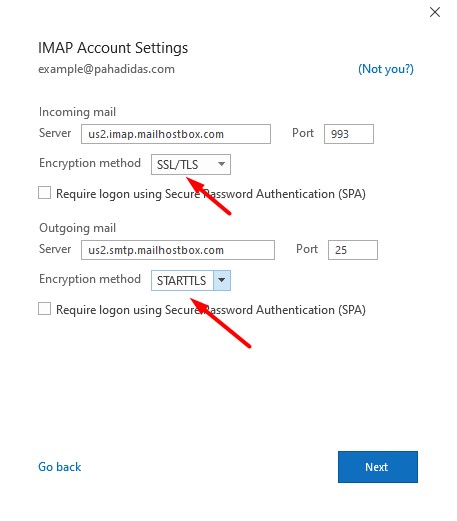
Step 3: Refer to the tables in the Locating the Email Client Configuration settings section above and based on your preferences, enter the respective hostnames, port numbers, and encryption methods for the Incoming Mail and Outgoing Mail servers.
Click on Next.
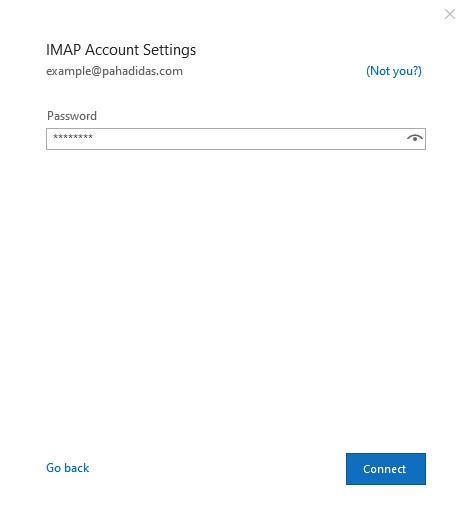
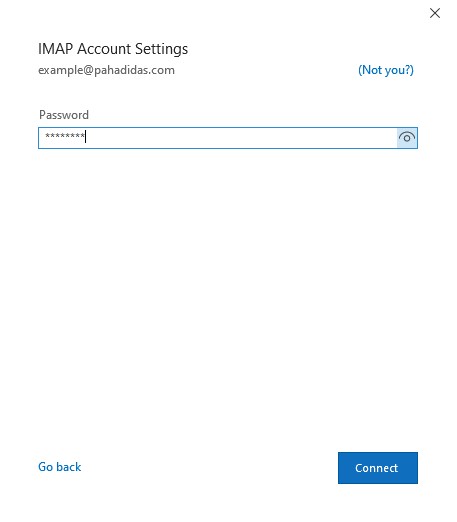
Step 4: Enter the password for your email account with us and click on Connect.

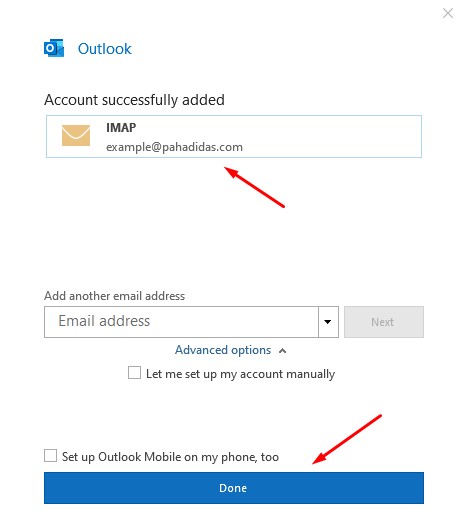
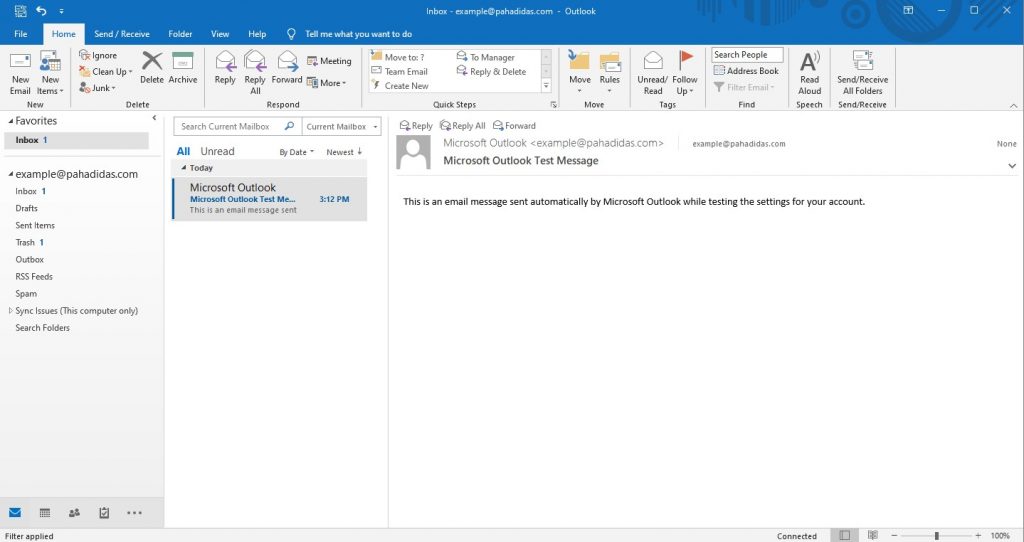
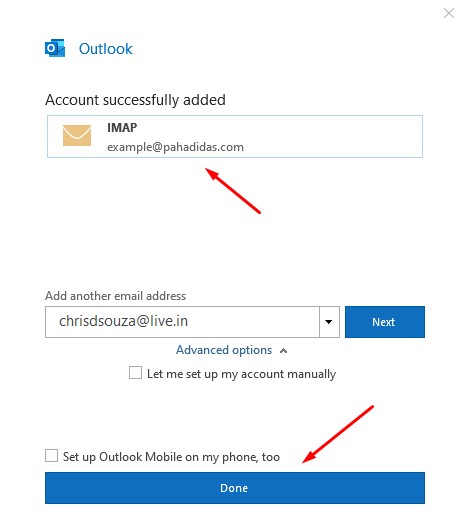
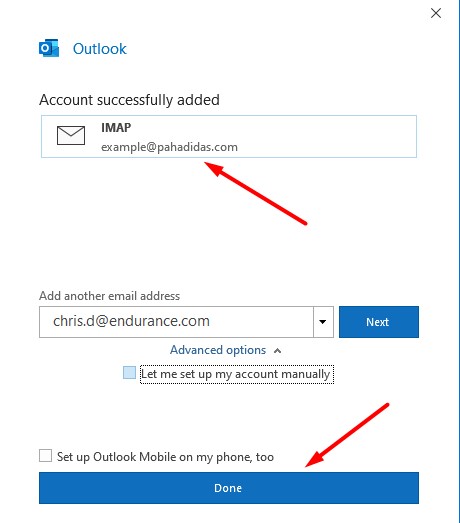
Step 5: Your email account has been configured successfully!
Click on Done to conclude the process.
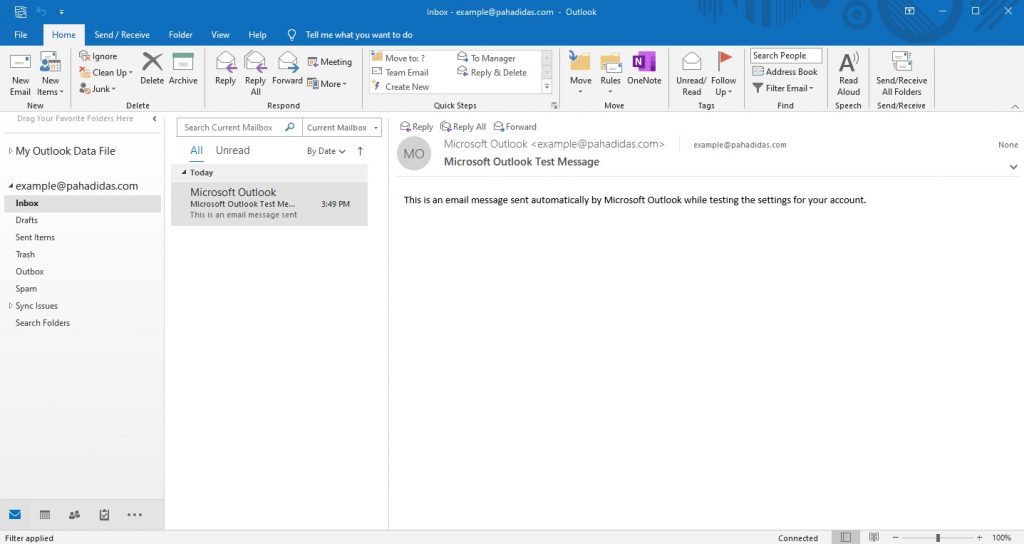
Step 6: You can now send and receive emails on your Email Client.
Outlook 2019
This section will take you through a step-by-step guide on how to configure your Email Account with us on Microsoft Outlook 2019. The process is similar to that of Microsoft Outlook 2016 with a few changes in UI.
Note: We will be configuring the email account using SSL Hostnames for SMTP and IMAP protocols.
Step 1: Launch Microsoft Outlook 2019 on your computer. If you are launching it for the first time, you will directly see the window as shown below. If you have already configured some other email accounts on Outlook already, you can click on File Menu > Add Account to see the window as shown below.
Enter your Email Address
Check the box that reads “Let me set up my account manually”
Click on Connect
Step 2: Select POP or IMAP depending upon the Incoming Protocol you prefer. In this article, we have selected IMAP.
Step 3: Refer to the tables in the Locating the Email Client Configuration settings section above and based on your preferences, enter the respective hostnames, port numbers, and encryption methods for the Incoming Mail and Outgoing Mail servers.
Click on Next.
Step 4: Enter the password for your email account with us and click on Connect.
Step 5: Your email account has been configured successfully!
Click on Done to conclude the process.
Step 6: You can now send and receive emails on your Email Client.
Outlook 365
This section will take you through a step-by-step guide on how to configure your Email Account with us on Microsoft Outlook 365. Again, the configuration is very similar to Microsoft Outlook 2016/2019 with minor differences in UI.
Note: We will be configuring the email account using SSL Hostnames for SMTP and IMAP protocols.
Step 1: Launch Microsoft Outlook 2016 on your computer. If you are launching it for the first time, you will directly see the window as shown below. If you have already configured some other email accounts on Outlook already, you can click on File Menu > Add Account to see the window as shown below.
Enter your Email Address
Check the box that reads “Let me set up my account manually”
Click on Connect
Step 2: Select POP or IMAP depending upon the Incoming Protocol you prefer. In this article, we have selected IMAP.
Step 3: Refer to the tables in the Locating the Email Client Configuration settings section above and based on your preferences, enter the respective hostnames, port numbers, and encryption methods for the Incoming Mail and Outgoing Mail servers.
Click on Next.
Step 4: Enter the password for your email account with us and click on Connect.
Step 5: Your email account has been configured successfully!
Click on Done to conclude the process.
Step 6: You can now send and receive emails on your Email Client.

Windows 10 Mail App
If you have a Windows 10 PC, it has the Windows Mail App installed by default that you can use to configure your email accounts. The Mail App is also on Windows 8 and its variants and you can use this article to configure your Email Account on Windows 8 as well.
Note: We will be configuring the email account using SSL Hostnames for SMTP and IMAP protocols.
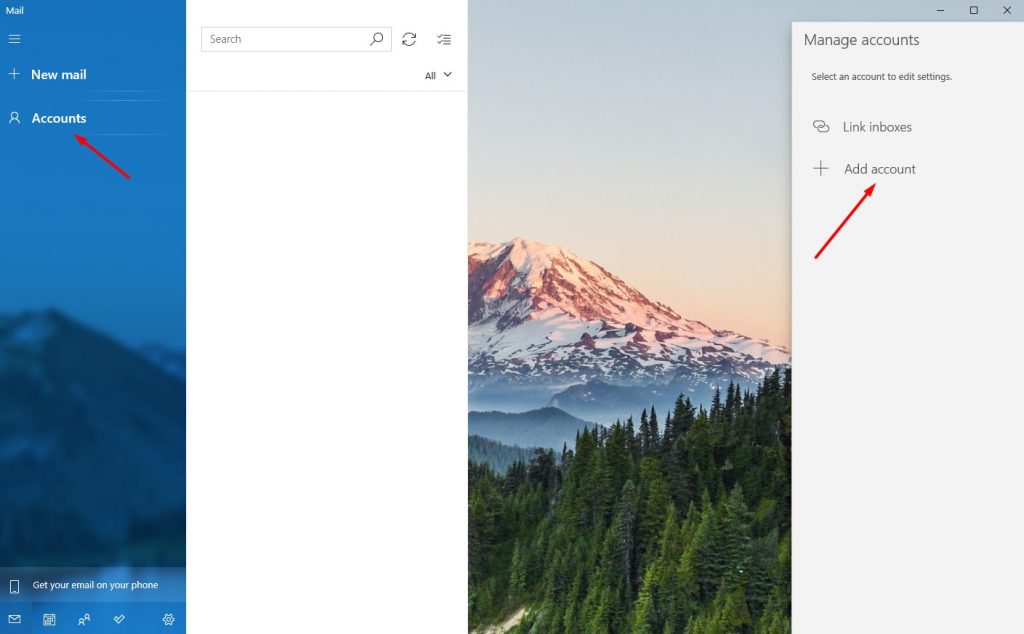
Step 1: Launch the Windows 10 Mail App. On the left, you will see an option called Accounts. Click on it and a new column will slide in on the right.
Click on Add Account.
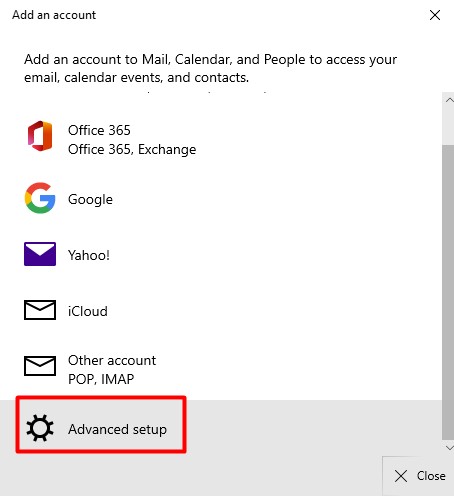
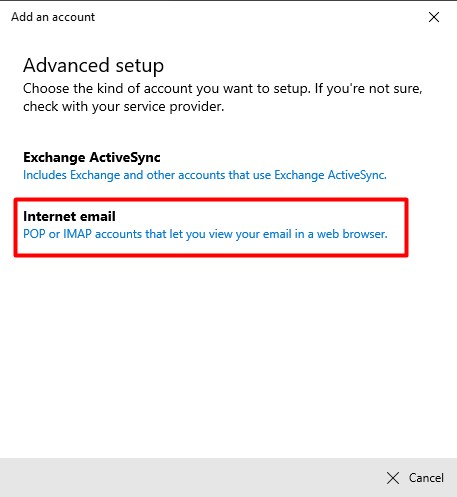
Step 2: Select Advanced setup.
Step 3: Select Internet email.
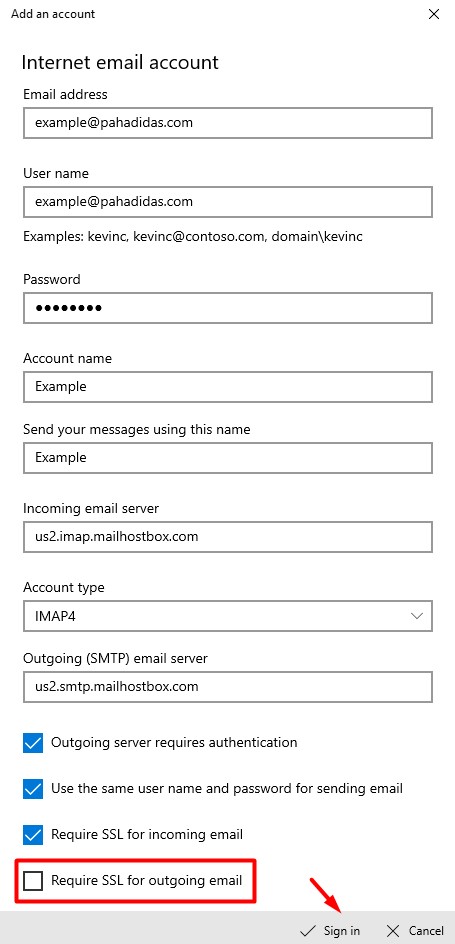
Step 4: Refer to the tables in the Locating the Email Client Configuration settings section above and based on your preferences, enter the respective hostnames, port numbers, and encryption methods for the Incoming Mail and Outgoing Mail servers.
Note: Uncheck the box that reads “Require SSL for outgoing email”
Click on Sign in.
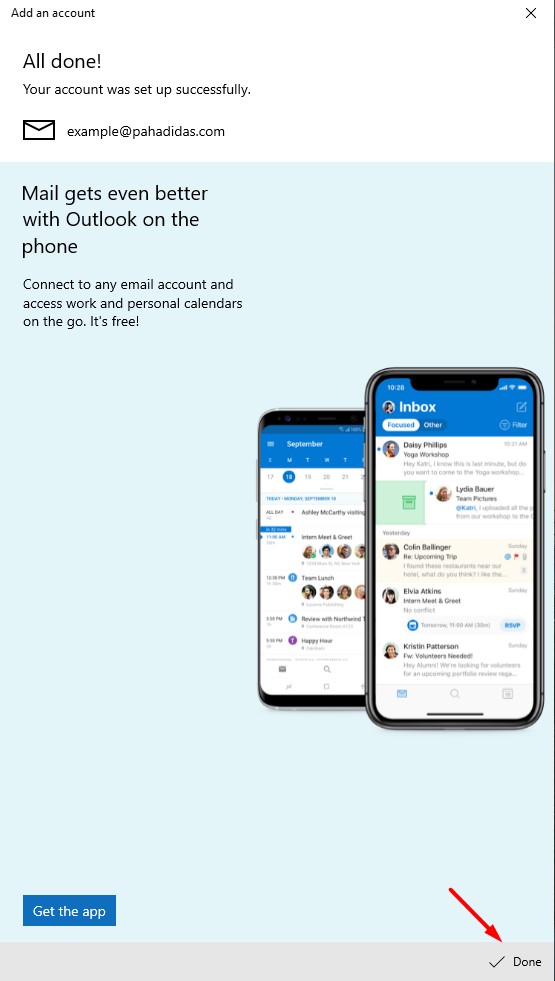
Step 5: Your email account has been configured successfully!
Click on Done to conclude the process.
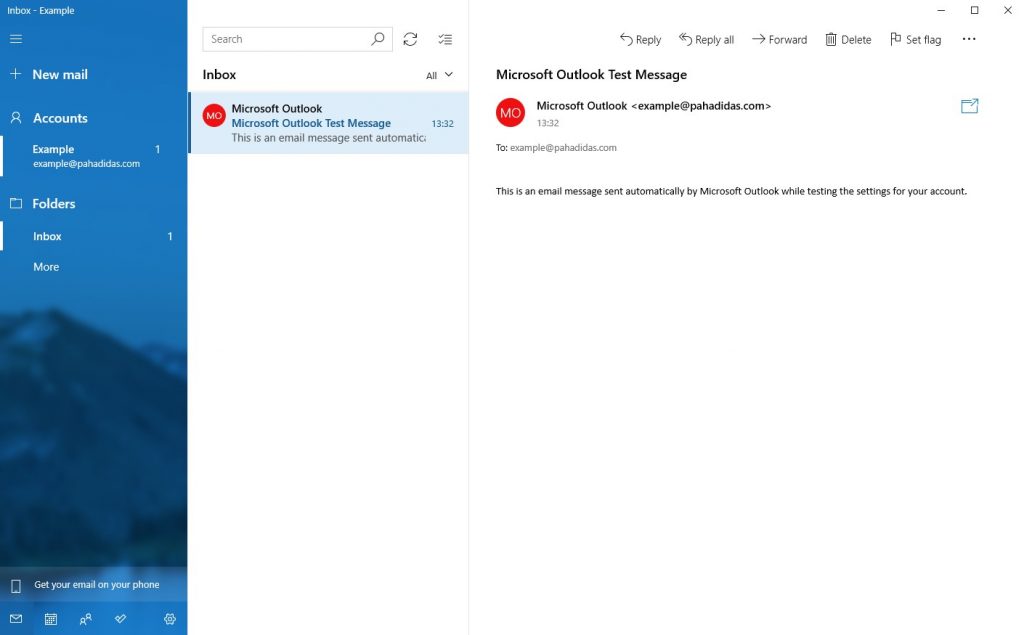
Step 6: You can now send and receive emails on your Email Client.
Mozilla Thunderbird 78
Mozilla Thunderbird 78 is an open-source email client and can be used as an alternative to Microsoft Outlook. It is available as a free download from their website.
Note: We will be configuring the email account using SSL Hostnames for SMTP and IMAP protocols.
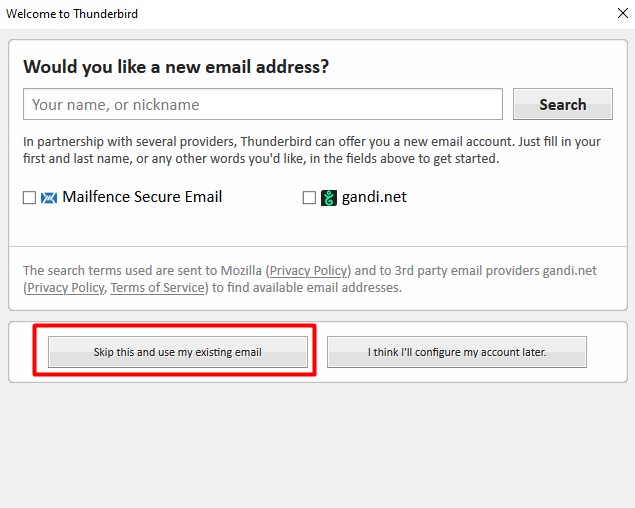
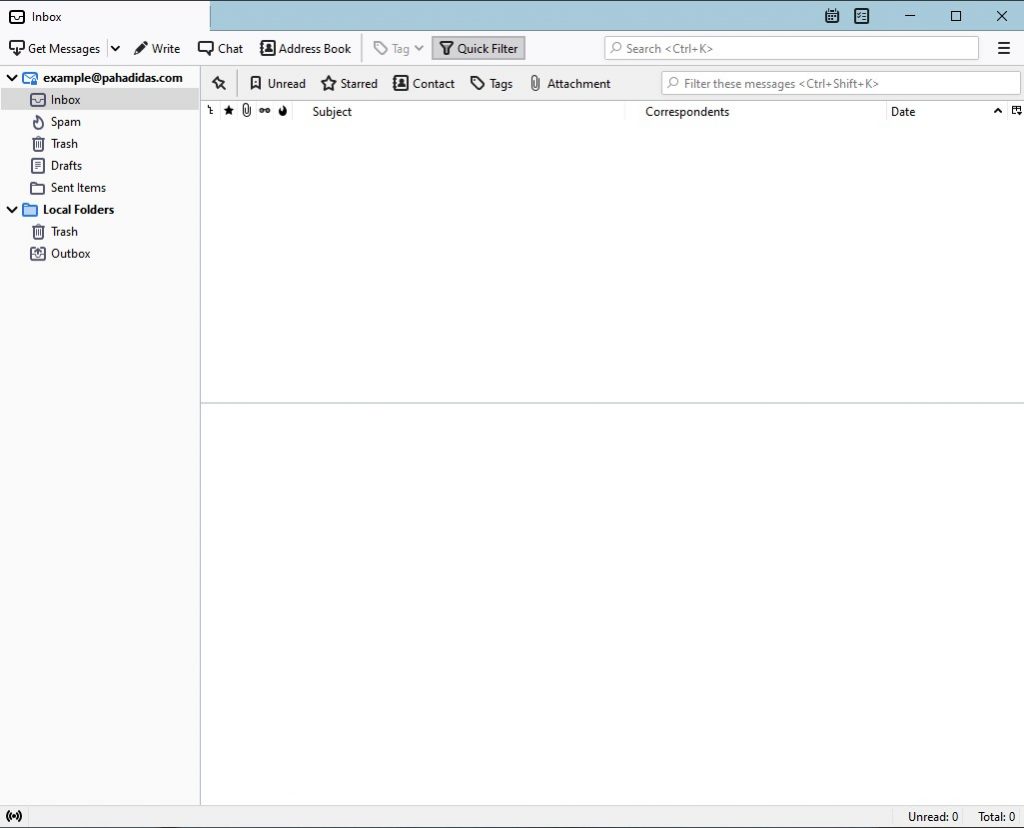
Step 1: Launch Mozilla Thunderbird. If you are launching it for the first time, you will directly see the window as shown below. If you have already configured some other email accounts on Thunderbird already, you can click on File Menu > New > Get a New Mail account to see the window as shown below.
Click on Skip this and use my existing mail.
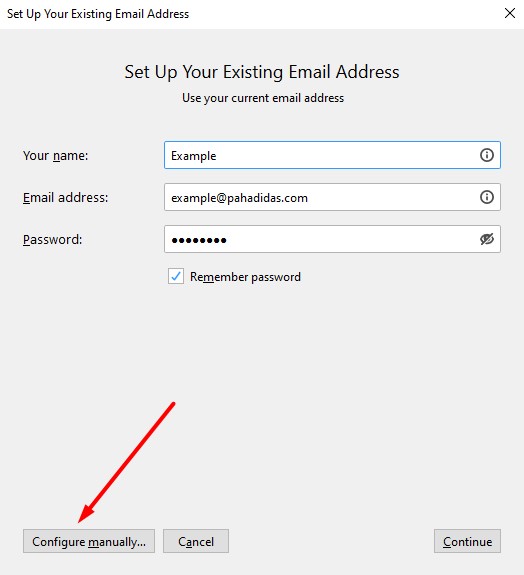
Step 2: Enter your name, email address, and password. Check Remember password and click on Configure manually.
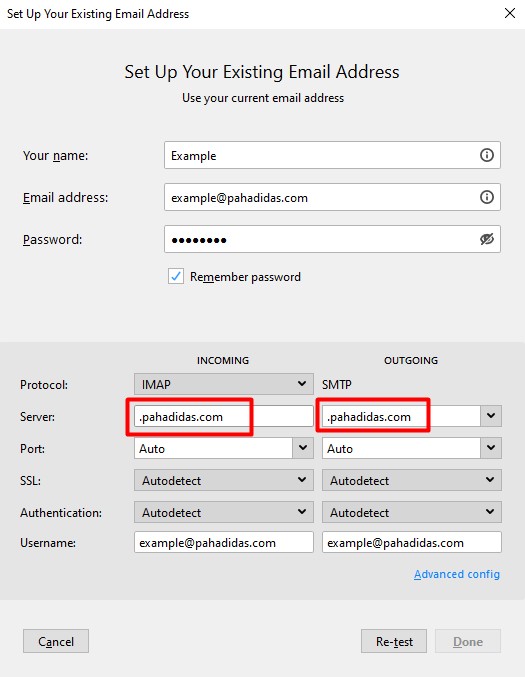
Step 3: You will see that the system automatically pops u your non-SSL hostnames in the format smtp.domainname.com and imap.domainname.com.
Refer to the tables in the Locating the Email Client Configuration settings section above and based on your preferences, enter the respective hostnames, port numbers, and encryption methods for the Incoming Mail and Outgoing Mail servers.
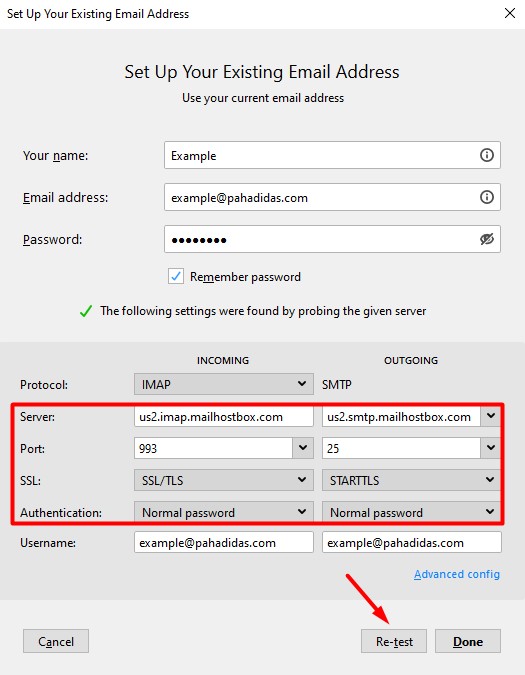
Step 4: As mentioned earlier, we are using SSL Hostnames for SMTP and IMAP protocols.
Click on Re-test after entering the settings to see if the configuration is successful.
Click on Done.
Step 5: You can now send and receive emails on your Email Client.
Note: If you see a TLS error while configuring SMTP on Thunderbird, you can refer to ThunderBird’s Support article to resolve it.
MacOS
macOS is an operating system used by Apple personal computers such as the Apple MacBook Pro, etc. It has a default mail client which you can configure as follows.
Step 1: Open the Mail application on a macOS system such as a MacBook
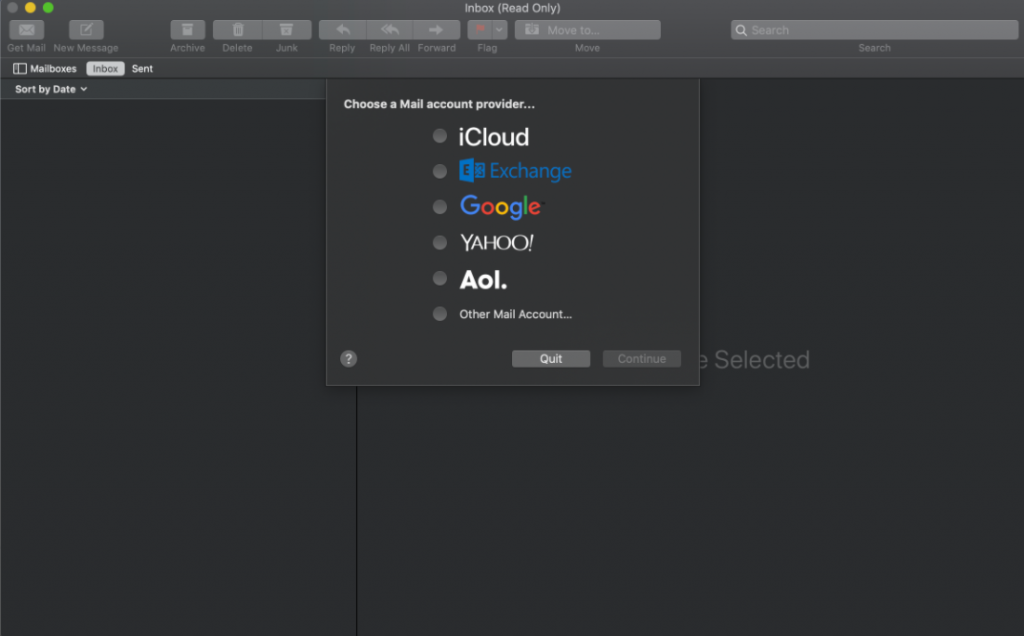
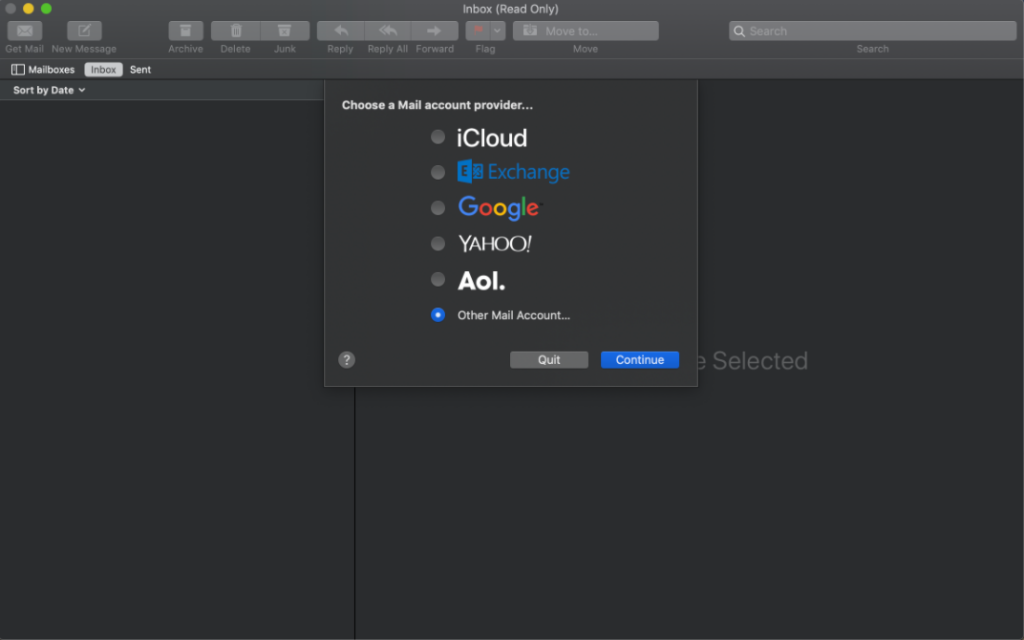
Step 2: Select Other Mail Account
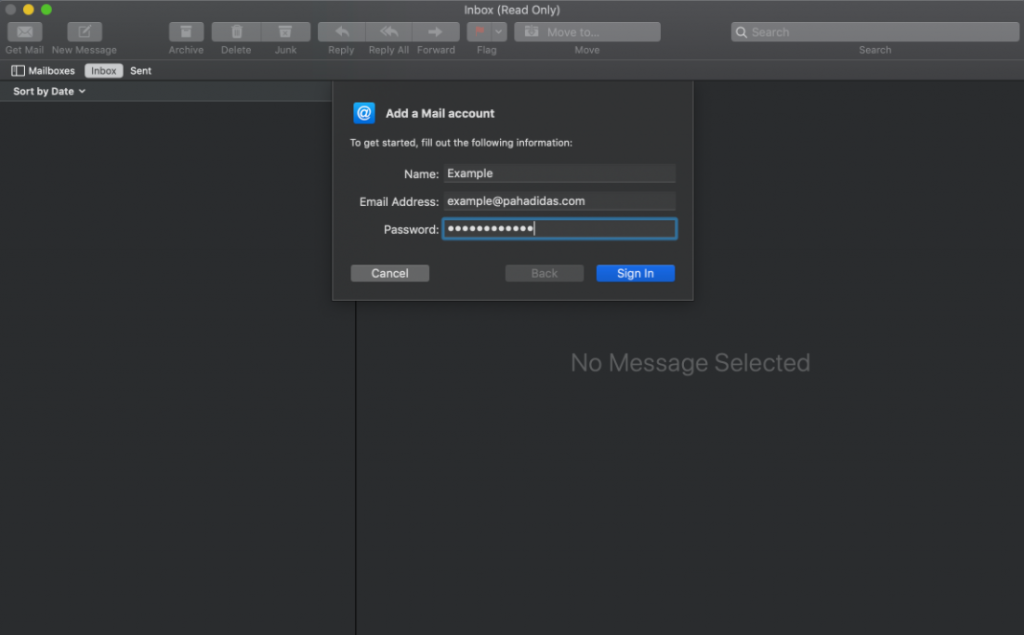
Step 3: Enter the username and password for your email account with us and click on Sign In
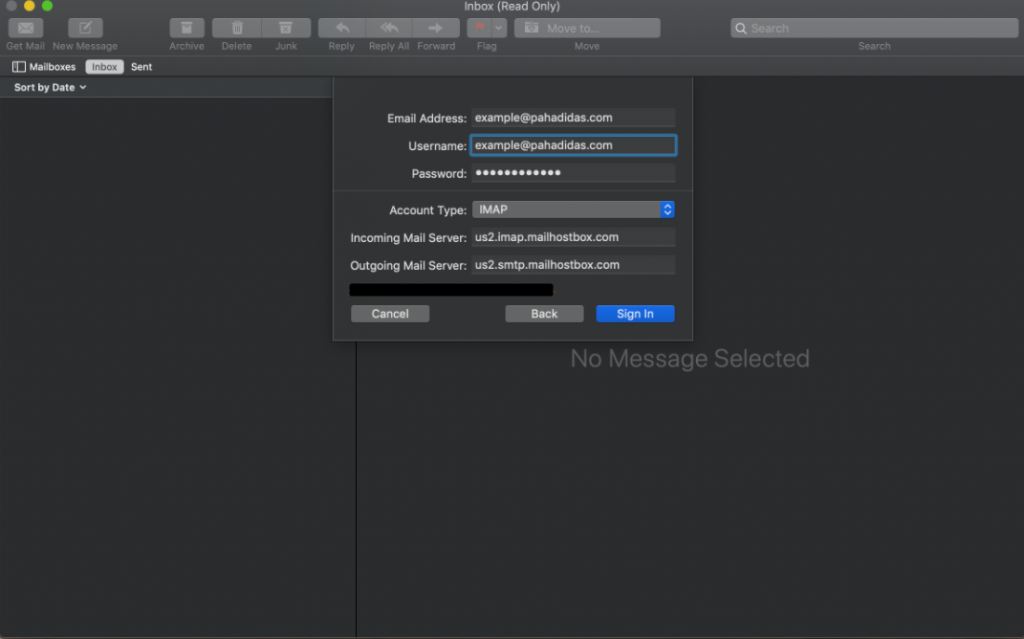
Step 4: Refer to the tables in the Locating the Email Client Configuration settings section above and based on your preferences, enter the respective hostnames, port numbers, and encryption methods for the Incoming Mail and Outgoing Mail servers.
Click on Sign In
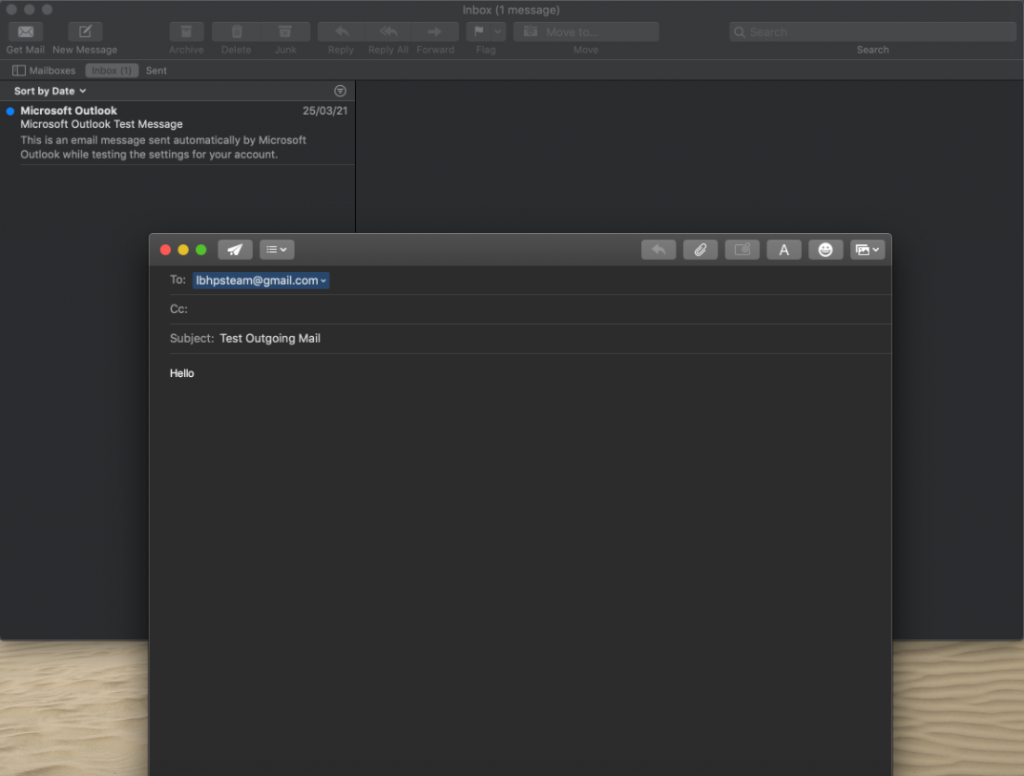
You have successfully set up your Email account

You can now view your Inbox for any emails you receive
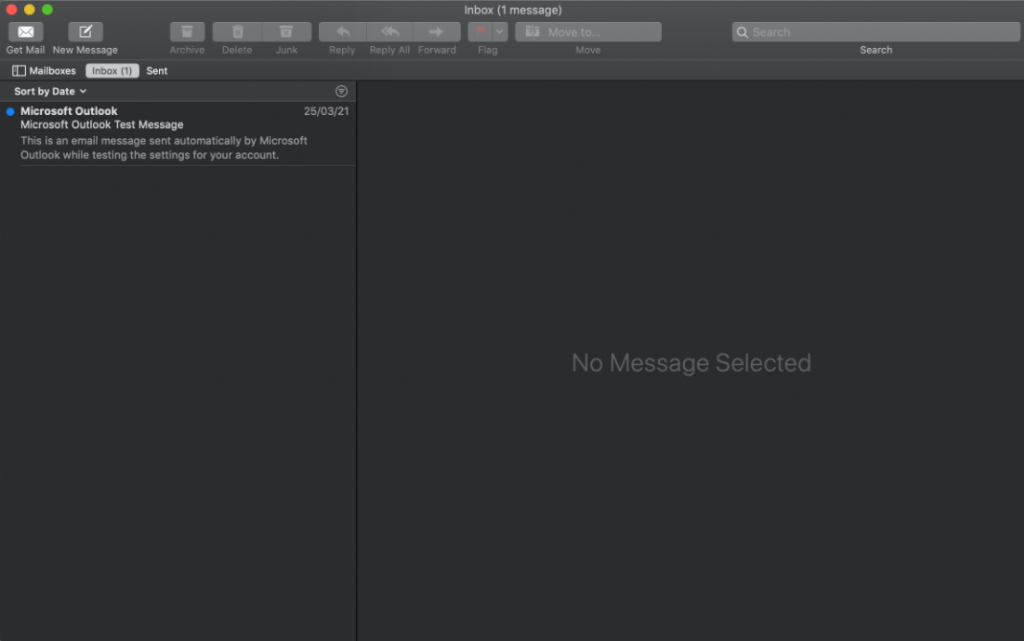
You can also start composing your first email and send it to anyone over the internet