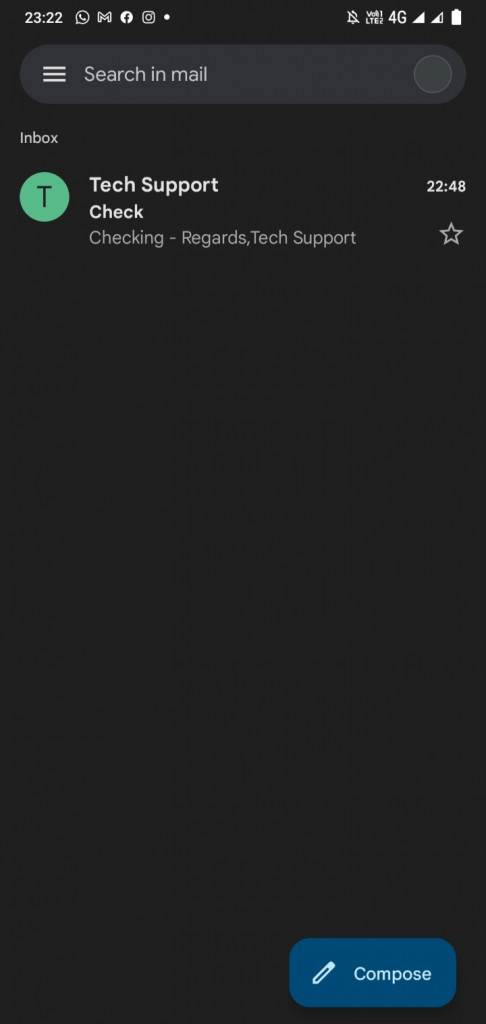
Email Account Configuration on Android Mobile Phone
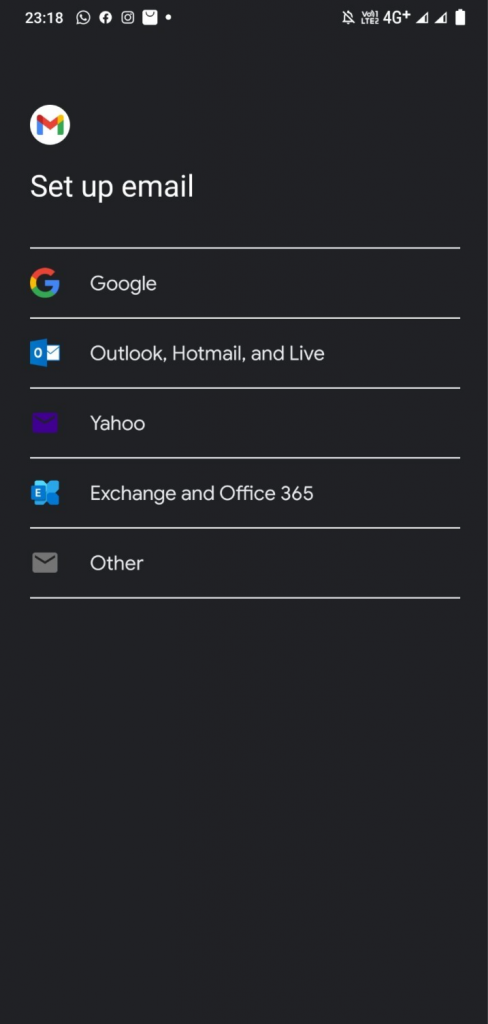
Step 1: Android’s default Email Client is the Gmail application. Launch the Gmail Application and in Settings, click on Add Account. Select Other.
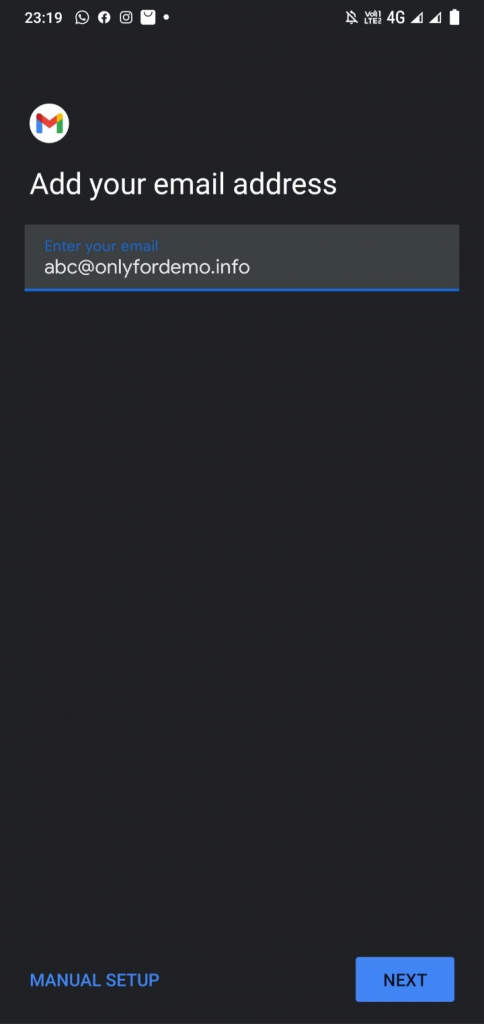
Step 2: Enter your Email Address with us for your Email Hosting package that you have purchased and click on Manual Setup.
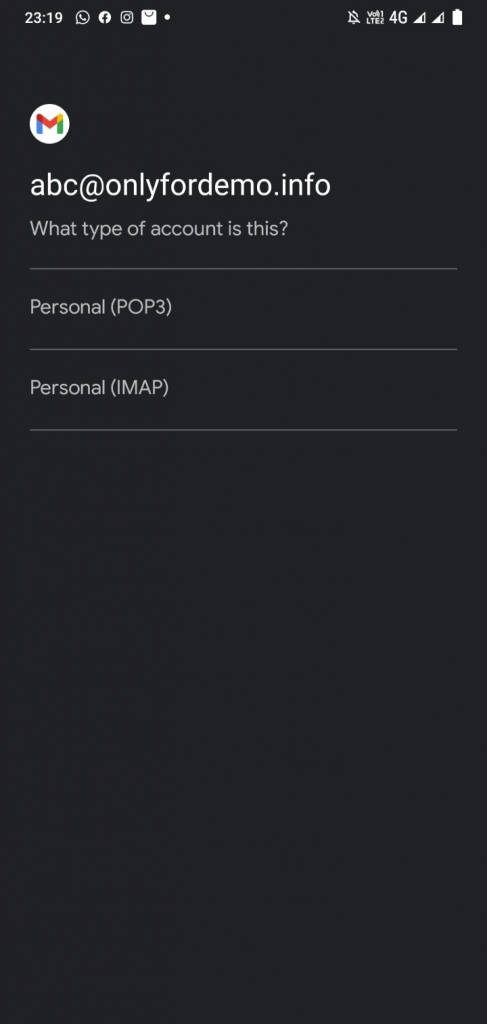
Step 3: Select the required incoming protocol POP or IMAP, depending upon your requirement. Here we have used IMAP.
Step 4: Enter the password of your email account.
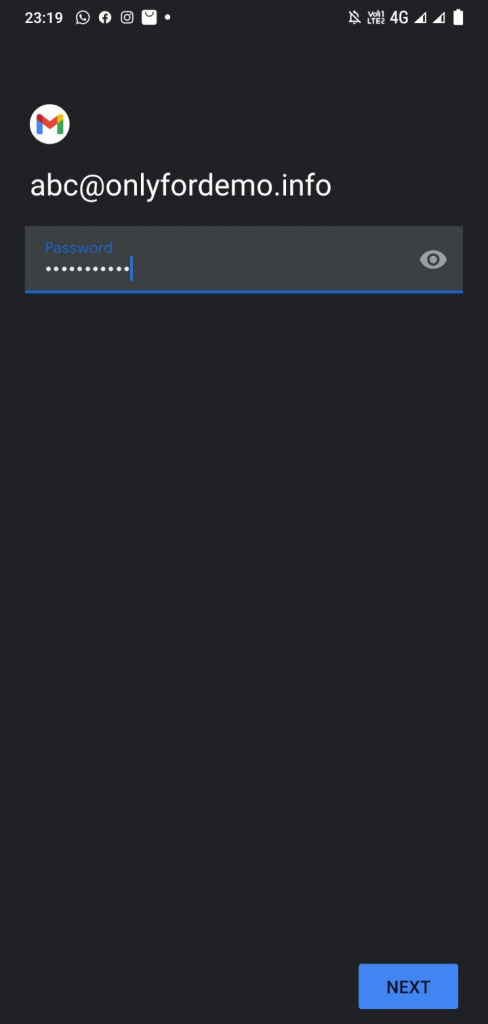
Step 5: You need to manually enter the settings for the Incoming Mail and Outgoing Mail servers. You can use SSL or Non-SSL settings.
Here we have used SSL settings.
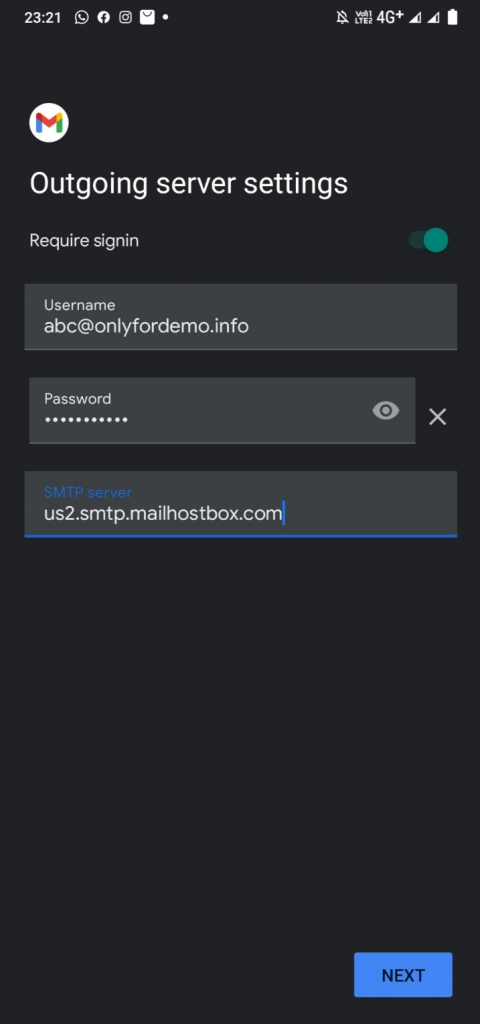

SSL/TLS settings:
Incoming mail server Settings:
IMAP
Server: us2.imap.mailhostbox.com
POP
Server: us2.pop.mailhostbox.com
Outgoing mail server Settings:
SMTP
Server: us2.smtp.mailhostbox.com.
NON-SSL/TLS settings:
Incoming mail server Settings:
IMAP
Server: imap.domain.tld
POP
Server: pop.domain.tld
Outgoing mail server Settings:
SMTP
Server: smtp.domain.tld
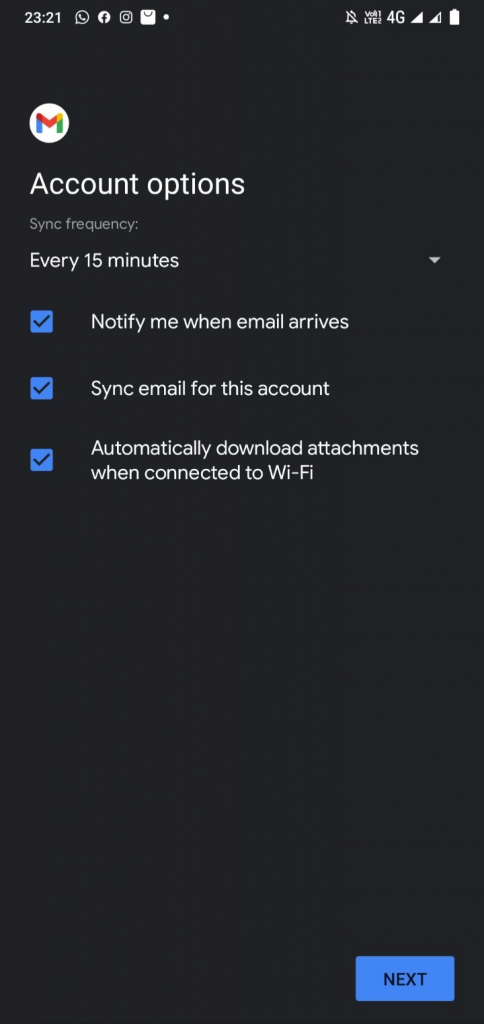
Step 6: Leave the default settings checked and click Next.
Step 7: Give a name to your account for your own reference. This is optional.

That’s it! Your account is now ready to use. You can check the Inbox and start composing new emails.
